![[Best Selling Trending Australian Themed Vehicle Stripes Online]-Mega Sticker Store](http://megastickerstore.com.au/cdn/shop/products/57_a5df4237-d64e-406b-bcf0-dc3284f7f6e3_785x.jpg?v=1708078020)


Transform Your Ride Effortlessly with DIY Car Stripe Decals: A Beginner's Guide to a Stunning Look
Transform Your Ride with DIY Car Stripe Decals
Are you ready to elevate your vehicle's appearance effortlessly? With our guide on DIY Car Stripe Decals, you can achieve a stunning look without breaking the bank or relying on professionals. Imagine your car catching everyone's eye as you cruise by, all thanks to a simple and quick transformation that you can handle yourself!
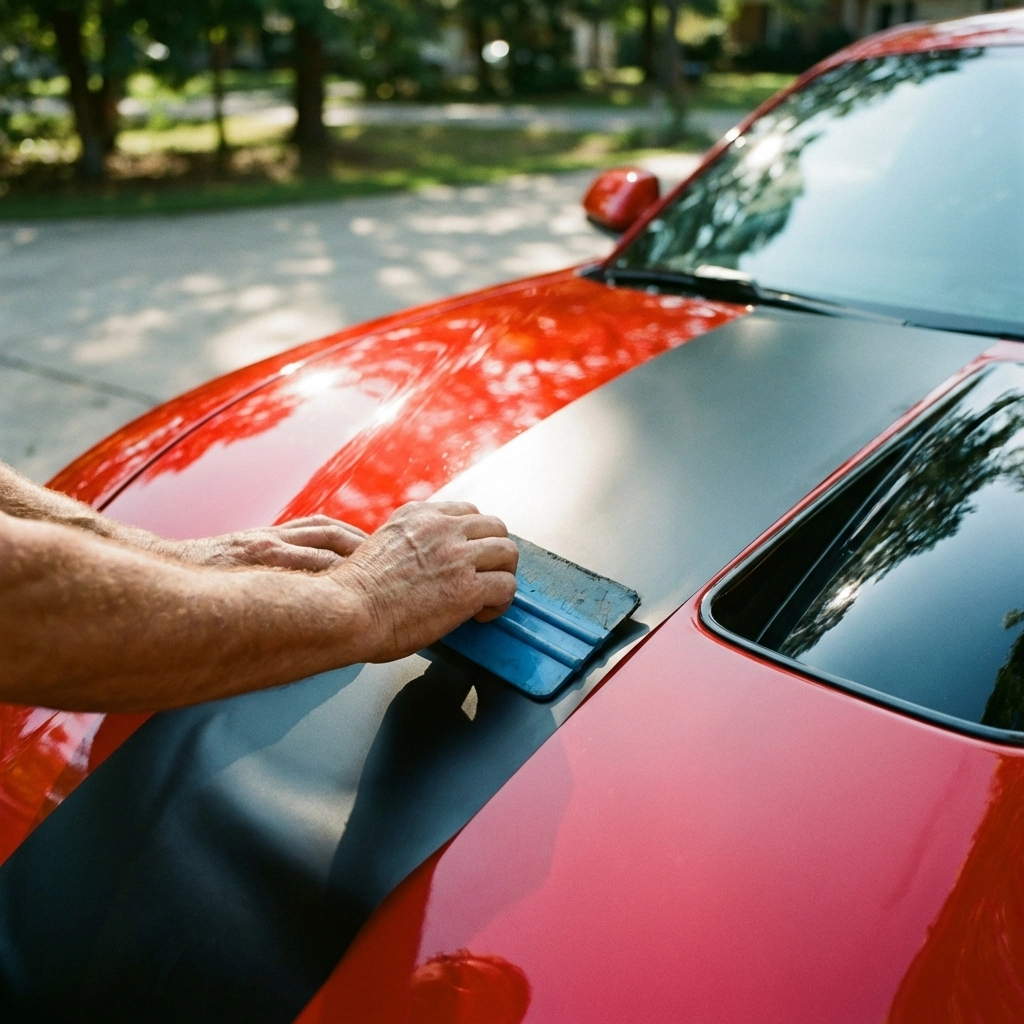
In this beginner-friendly guide, you will discover how to apply vibrant decals that breathe new life into your car, ute, or van in under 30 minutes. Whether you're drawn to classic racing stripes or bold custom designs, we cover it all!
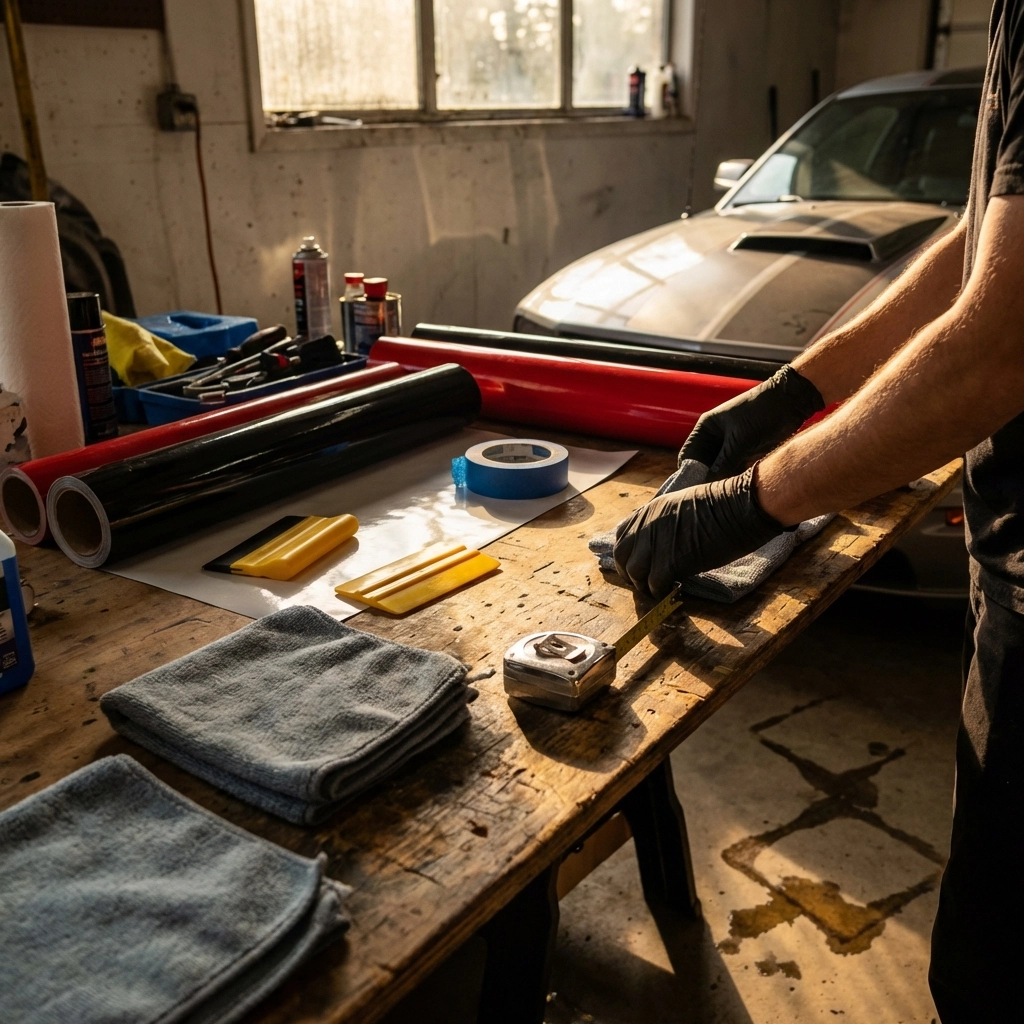
- No special tools needed – Just a squeegee and some tape!
- Quick and easy process – Transform your vehicle in less than half an hour.
- Affordable – Get professional results without the hefty price tag.
- Perfect for beginners – Even if you've never applied a decal before, we've got you covered.
- Removable – Change your look whenever you feel like it!
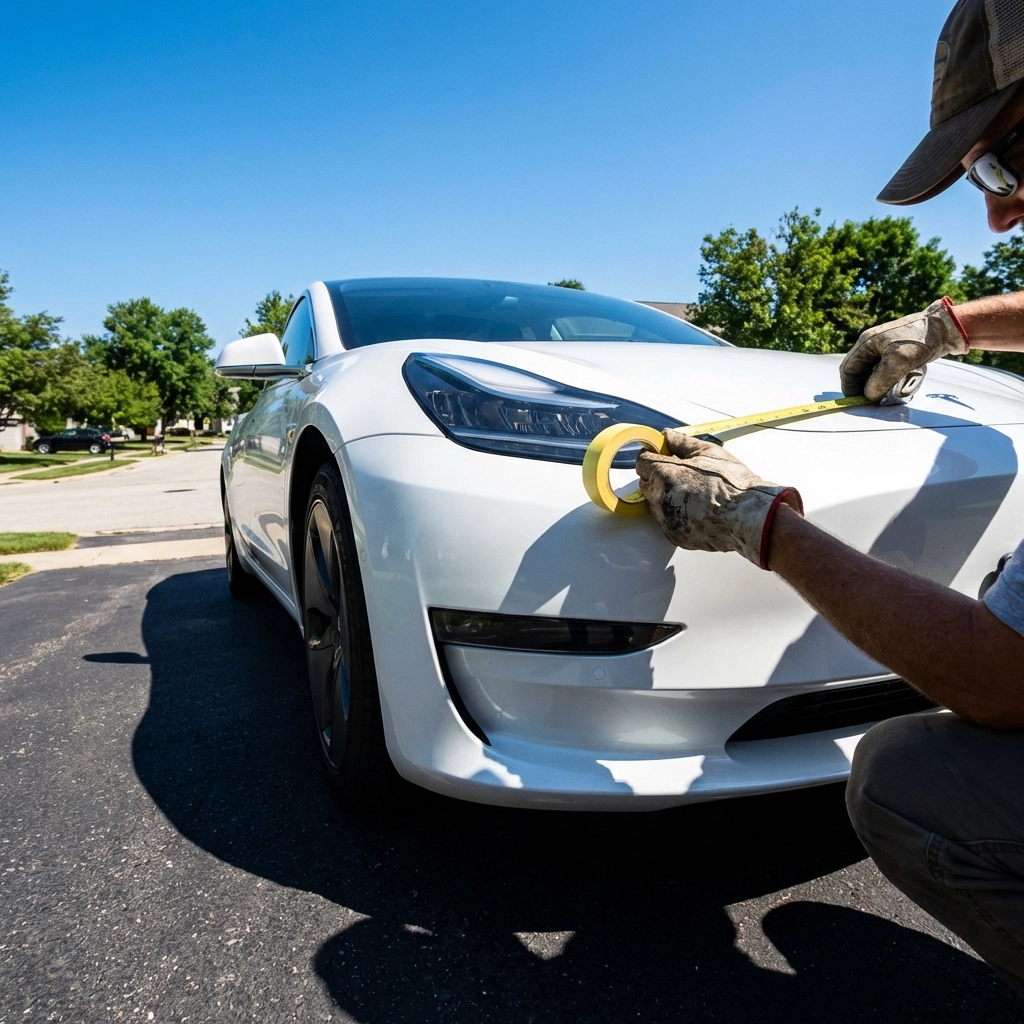
Our tips on preparing your surface, measuring for placement, and applying the decals are all designed to make this DIY project enjoyable and rewarding. Plus, we offer premium vinyl decals at the Mega Sticker Store, ensuring your transformation is both easy and lasting. Ready to turn your ride into a head-turner?
Don't wait another minute—grab your supplies and start transforming your car today!