
![[Best Selling Trending Australian Themed Vehicle Stripes Online]-Mega Sticker Store](http://megastickerstore.com.au/cdn/shop/products/57_a5df4237-d64e-406b-bcf0-dc3284f7f6e3_785x.jpg?v=1708078020)


Your Ultimate Motorhome Decals Guide: Transform Your RV and Protect It from Aussie Weather
Your Ultimate Motorhome Decals Guide: Transform Your RV with Style
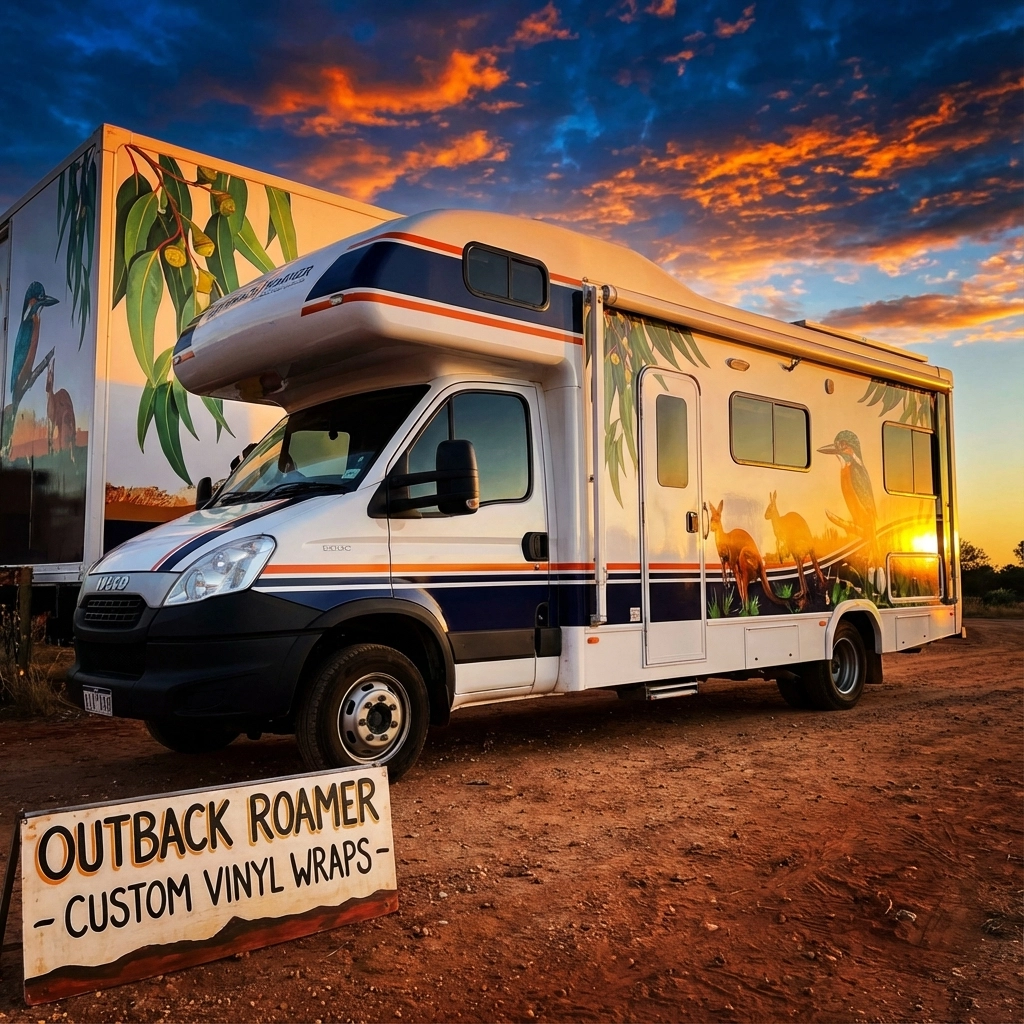
Welcome to your comprehensive Motorhome Decals Guide, where we take the stress out of personalising your RV while ensuring it stands up to Australia's intense weather conditions. Imagine cruising down the highway in a motorhome that reflects your unique style and keeps its paint pristine—thanks to high-quality vinyl decals designed specifically for durability and flair.
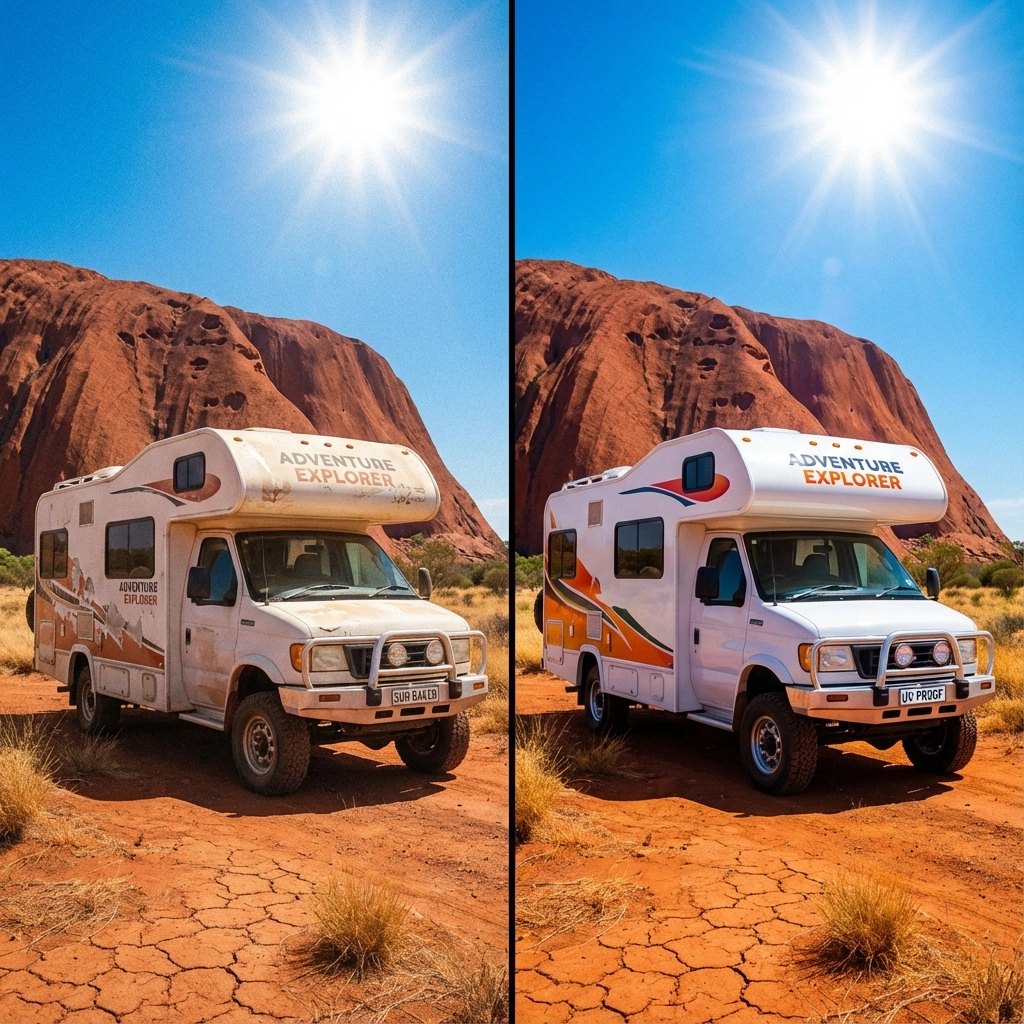
This blog is your one-stop resource on all things motorhome decals. Discover how simple installations can dramatically change your vehicle's appearance, enhance visibility, and protect against harsh sun, rain, and humidity.
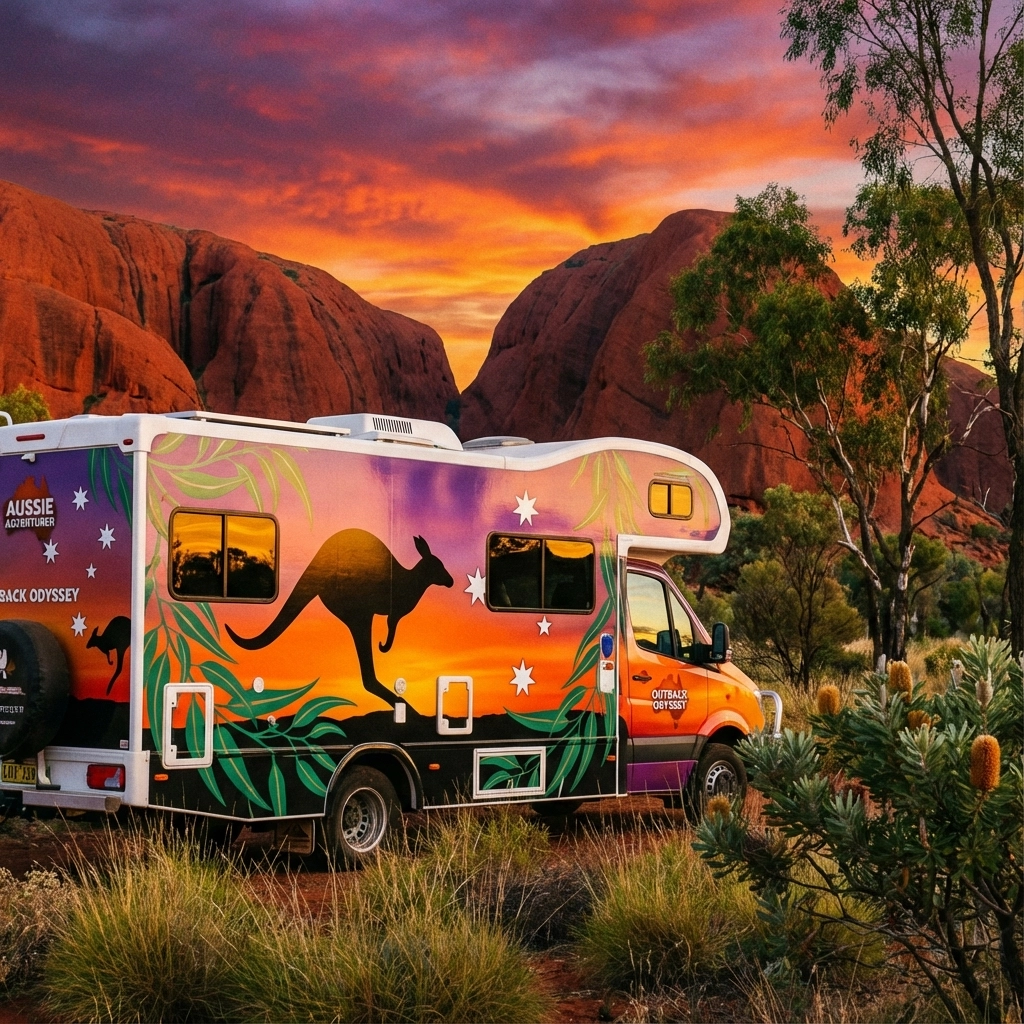
- Learn about the different types of motorhome decals available, from racing stripes to intricate nature scenes.
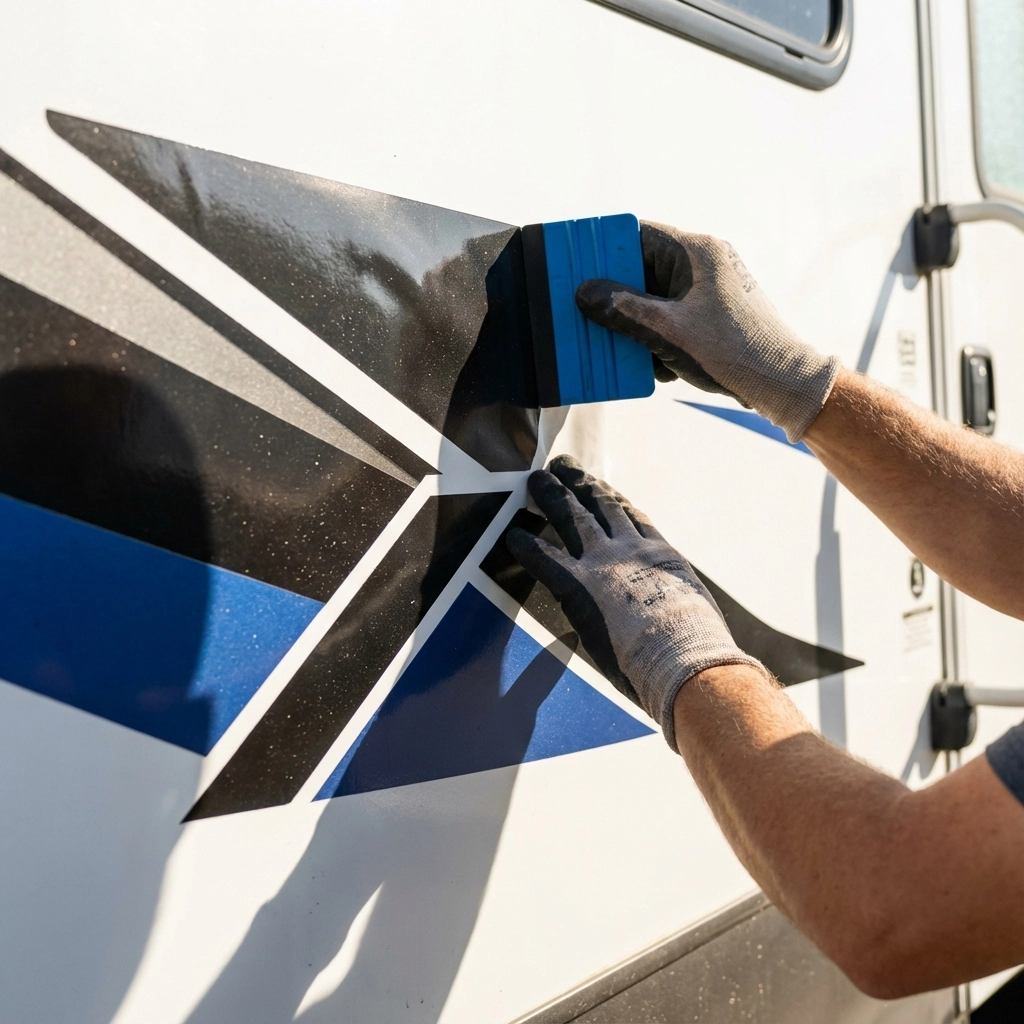
- Understand the cost implications, including DIY vs. professional installation options.
- Explore essential installation tips to ensure a seamless application.
- Get insights on maintaining your decals to maximize their lifespan in the Australian climate.
- Find popular themes that resonate with fellow Aussie travellers.
By the end of this guide, you won't just have the knowledge you need to make informed decisions; you'll also feel empowered to express your unique adventures. So why wait? Transform your motorhome into a one-of-a-kind adventure machine—just check out the stunning visuals throughout!
Ready to enhance your RV experience? Let’s dive in!